
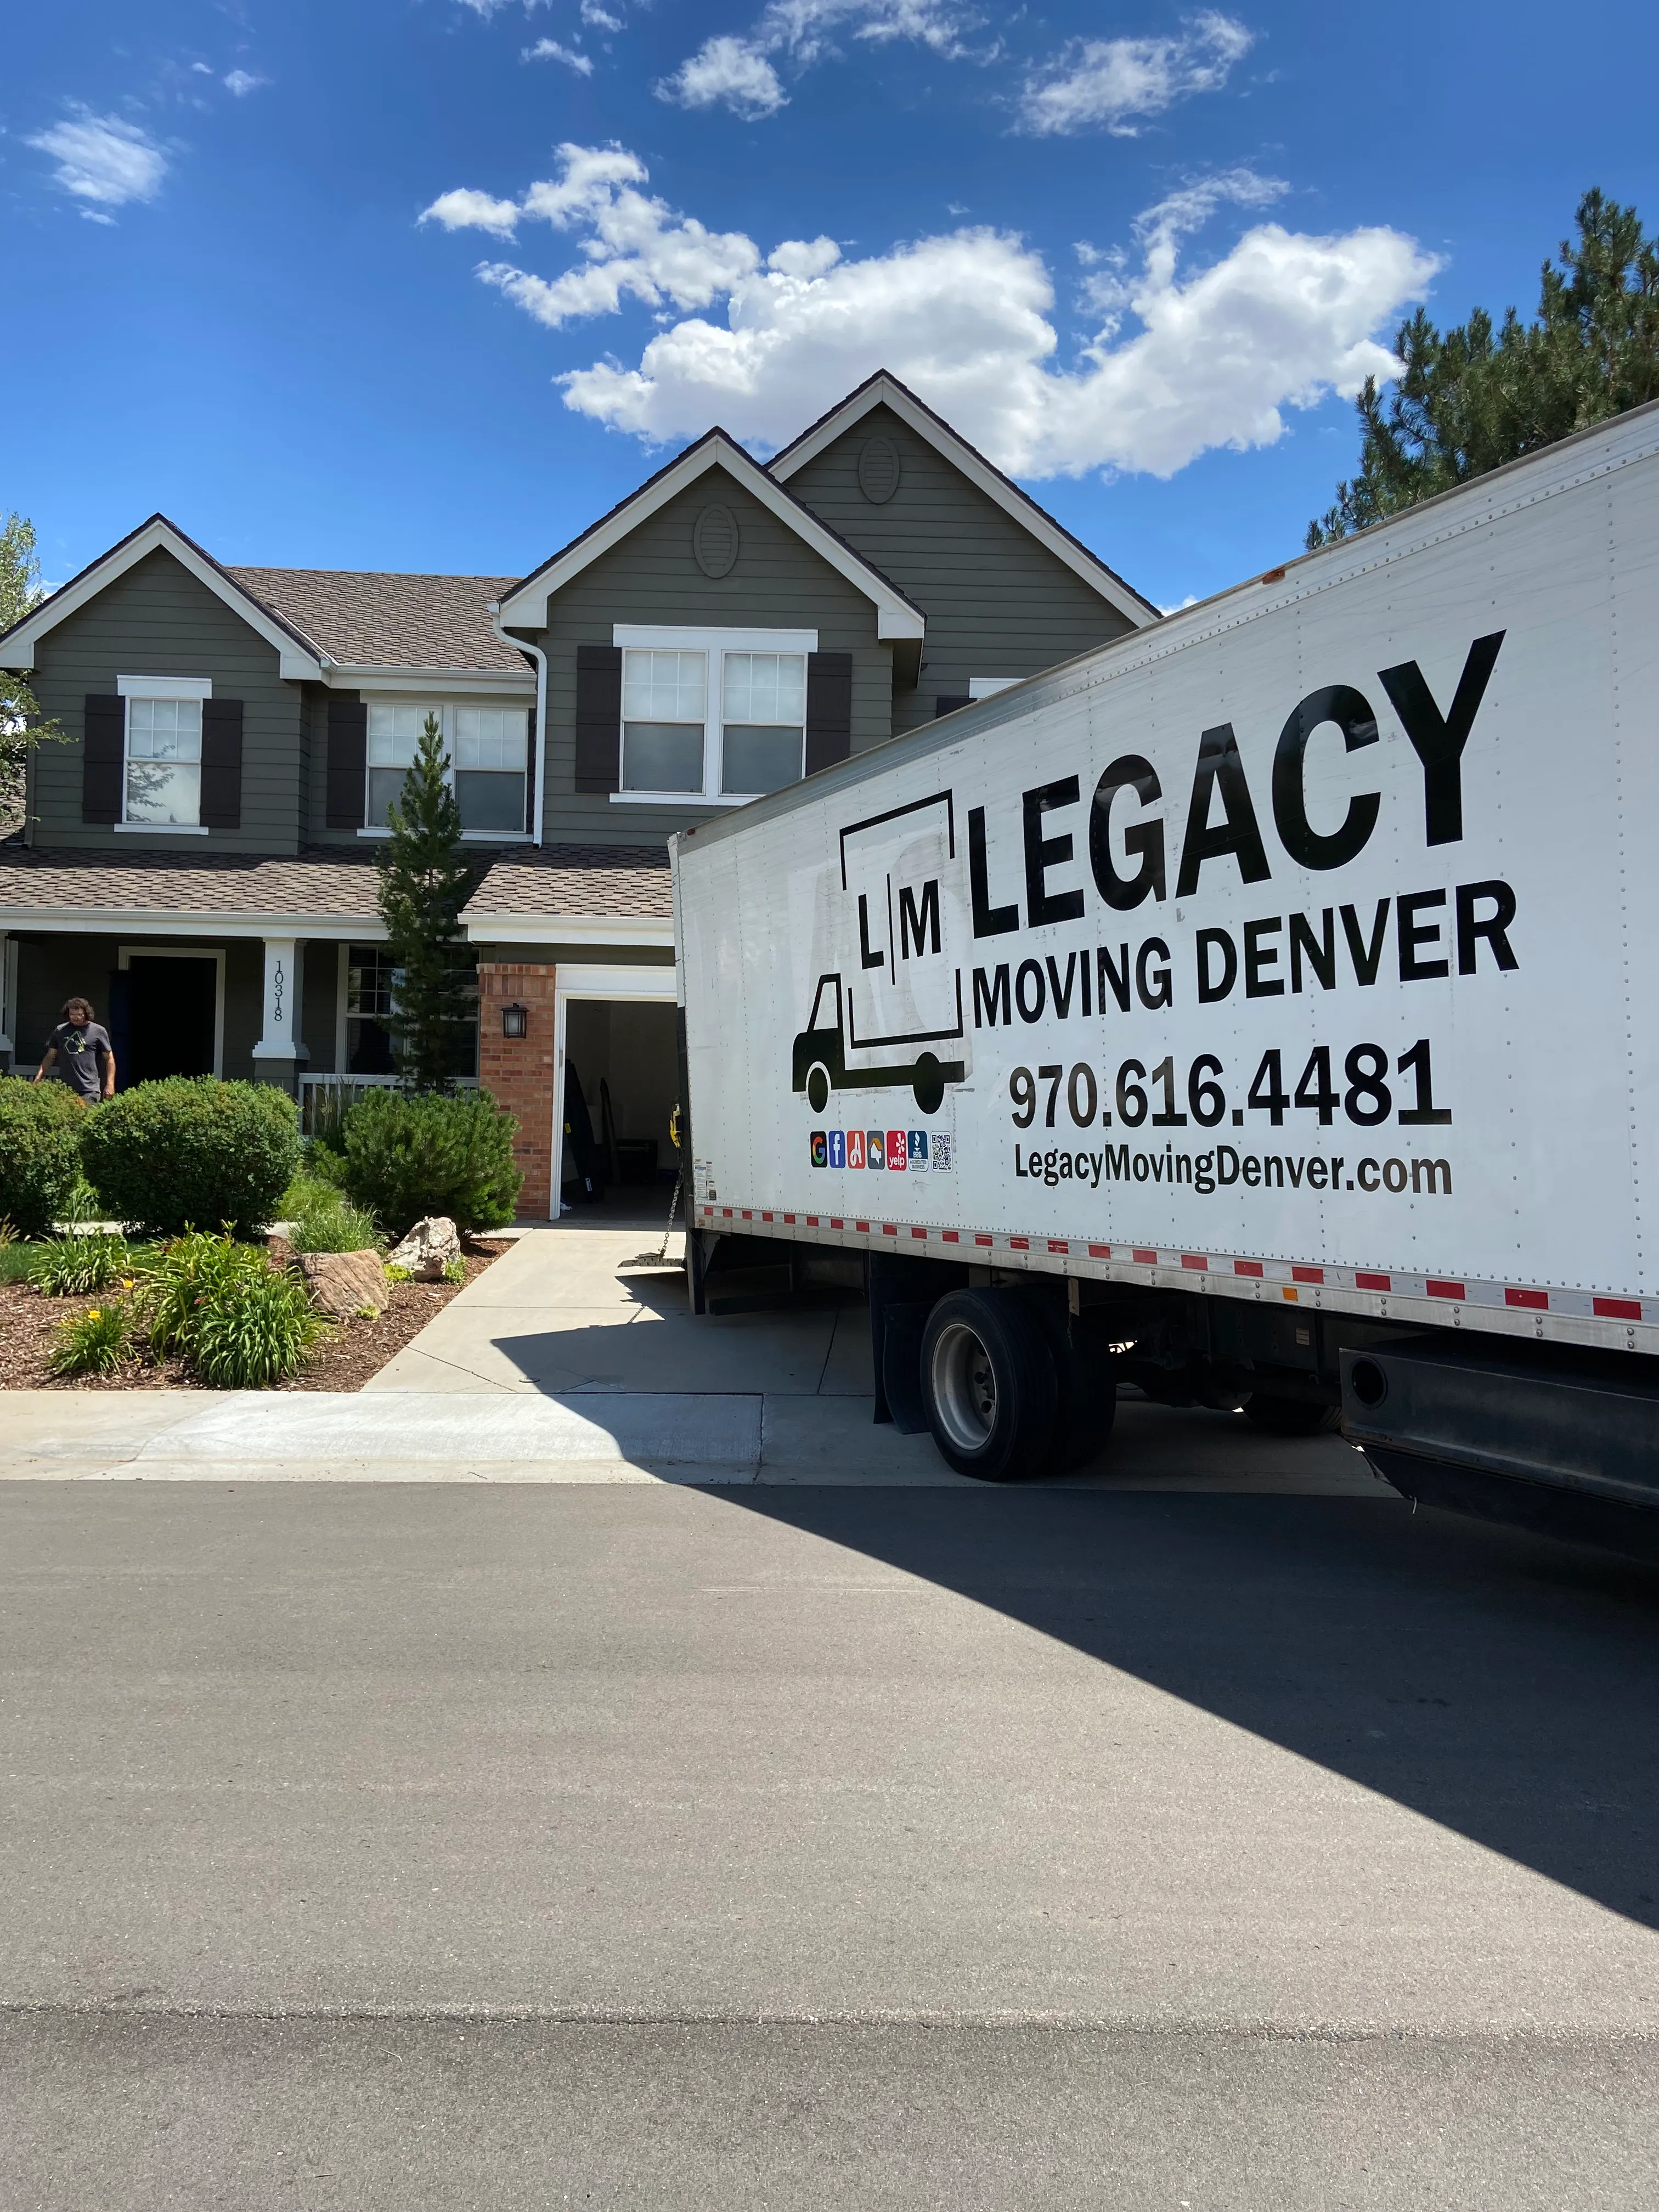
Moving is stressful enough without worrying whether your grandmother's china will survive the journey or if your flat-screen TV will arrive with a cracked screen. When you're relocating in Denver, where altitude changes, temperature fluctuations, and mountain roads add extra challenges, protecting fragile items becomes even more critical. After helping thousands of families move throughout the Denver metro area, I've seen what works and what leads to heartbreak on moving day.
This comprehensive guide walks you through everything you need to know about preparing fragile items for your move, whether you're handling it yourself or working with professional movers. We'll cover the techniques that actually work, the materials worth investing in, and the mistakes that cause the most damage.
Understanding What Makes Denver Moves Unique
Before we dive into packing techniques, it's important to understand why Denver moves present special challenges for fragile items. The Mile High City isn't just a catchy nickname—the 5,280-foot elevation affects everything from how quickly temperature changes occur to how materials expand and contract.
Temperature swings in Denver can be dramatic. A sunny 70-degree morning can turn into a snowy 30-degree afternoon, especially during spring and fall. These rapid changes cause materials to expand and contract quickly, which can stress already fragile items. Glass, in particular, doesn't respond well to sudden temperature changes.
The dry climate also matters. Denver's low humidity can make certain packing materials more brittle and less protective than they would be in more humid climates. Packing paper dries out faster, and some types of foam can become less flexible. Professional movers understand these regional factors and adjust their packing techniques accordingly.
Additionally, many Denver moves involve navigating steep driveways, narrow mountain roads, or traveling between significantly different elevations. A move from downtown Denver to Evergreen or from Aurora to Boulder means your items will experience elevation changes of 1,000 feet or more. These factors make proper packing even more essential.
Essential Materials for Packing Fragile Items
The difference between items arriving intact and items arriving in pieces often comes down to using the right materials. Cutting corners on packing supplies is one of the most expensive mistakes people make when moving.
Specialty boxes are your first line of defense. Standard moving boxes aren't designed for fragile items. Dish pack boxes, also called china barrels, have double-thick walls and can hold up to 75 pounds of carefully packed dishes. These boxes typically measure 18x18x28 inches and include multiple layers of corrugated cardboard. Mirror boxes are adjustable telescoping boxes designed specifically for artwork, mirrors, and flat-screen TVs. They come in various sizes and can be custom-fitted to your items. Picture boxes work well for smaller framed items and photographs.
Bubble wrap is indispensable, but not all bubble wrap is created equal. Large bubble wrap (bubbles around one inch in diameter) works best for bigger items and providing cushioning between items and box walls. Small bubble wrap (quarter-inch bubbles) conforms better to irregular shapes and provides better protection for extremely delicate items like crystal or ornate glassware. Always wrap with the bubbles facing inward, despite what seems intuitive—this prevents the bubbles from leaving circular impressions on delicate surfaces.
Packing paper is better than newspaper because it doesn't leave ink stains on your belongings. You'll need much more than you think—a typical kitchen requires 10-15 pounds of packing paper. The paper serves multiple purposes: wrapping individual items, cushioning between layers, and filling empty spaces in boxes to prevent shifting.
Foam pouches and sheets provide excellent protection for electronics and items with finished surfaces. Foam corner protectors are essential for picture frames, mirrors, and TV corners. Foam sheets can be cut to size and wrapped around items for custom protection.
Stretch wrap (not to be confused with shrink wrap) helps keep blankets and padding secured around furniture and large fragile items. It's also useful for keeping drawers and doors closed during transport without leaving adhesive residue.
Specialty supplies you might need include: dish cell dividers (cardboard inserts that create individual compartments for glasses and stemware), custom crating materials for extremely valuable items, silica gel packets to control moisture in sealed boxes, and corner protectors for artwork and mirrors.
How to Pack Televisions and Electronics Safely
Flat-screen TVs are among the most commonly damaged items during moves, and it's easy to understand why. Modern televisions are engineering marvels—incredibly thin displays that combine fragile glass with sensitive electronics. One significant impact or too much pressure on the screen can render an expensive TV worthless.
Start with the original box if possible. TV manufacturers design packaging specifically to protect their products during shipping, and that same packaging works perfectly for moving. If you still have the original box and Styrofoam inserts, use them. Many people throw away TV boxes shortly after purchase, but if you're planning a move, keeping these boxes is worth the storage space.
If you don't have original packaging, purchase a TV box designed for your screen size. These specialty boxes include foam corners and usually come with a foam or cardboard screen protector. Measure your TV diagonally from corner to corner to determine the size you need—this is how TV sizes are measured. Don't try to squeeze a 65-inch TV into a 55-inch box or leave extra space in an oversized box.
Never lay a flat-screen TV flat. This is perhaps the most important rule for TV moving. Flat-screen TVs must be transported upright or at a slight angle. When laid flat, the weight of the TV's glass screen isn't properly supported, and even the truck's normal vibration can cause stress fractures or complete screen failure. The damage might not be immediately visible but can appear as dead pixels, lines, or distortion when you first turn on the TV.
Here's the proper packing sequence for TVs: First, unplug all cables and accessories. Take photos of the cable connections before disconnecting anything—you'll thank yourself later during setup. Wrap the power cord and remote control together and pack them separately in a labeled bag taped to the back of the TV box. Cover the screen with a soft cloth or foam screen protector. Wrap the entire TV in bubble wrap, securing it with tape (never tape directly to the TV—only to the bubble wrap). If using a TV box, insert corner protectors before sliding the TV into the box. Fill any empty space with foam or packing paper—the TV should not move at all when the box is sealed. Mark the box with multiple "FRAGILE" and "THIS SIDE UP" labels on all sides.
Computer monitors follow the same principles as TVs. Laptop computers should be powered down completely (not just in sleep mode) and packed in a padded laptop bag or wrapped in bubble wrap and placed in a small box. Never pack anything on top of a laptop.
For other electronics like gaming consoles, receivers, and sound systems, wrap them individually in bubble wrap and pack them in appropriately sized boxes with plenty of cushioning. Remove any discs or cartridges from gaming systems—these can damage the systems if left inside during transport. Back up all data before moving computers or gaming systems, just in case.
Mastering the Art of Packing Glassware and Dishes
The kitchen is typically the most time-consuming room to pack, and glassware requires special attention. Professional packers can pack a kitchen in a few hours, but doing it yourself properly takes most people an entire day or more.
Start with the right boxes. Dish pack boxes are worth every penny. Their double-thick construction and reinforced bottoms can handle the weight of dishes without bottom failure—a regular moving box cannot. Cell dividers turn a dish pack box into individual compartments for glasses and stemware, preventing them from touching each other during transport.
Create a cushioning foundation. Before packing any items, create a three-inch layer of crumpled packing paper at the bottom of the box. This cushioning absorbs shock and prevents items from settling onto the box bottom during transport.
Wrap each item individually. This is where people try to save time and end up with broken dishes. Every single plate, bowl, and glass needs to be wrapped separately. For plates, place a sheet of packing paper on a flat surface, put the plate in the center, and fold the corners over the plate. Use two sheets for dinner plates, three for serving platters. Stack plates on their edges, never flat—they're much stronger on their edges and less likely to break. Place the stack vertically in the box like vinyl records in a crate.
Glasses require special technique. Stuff the inside of each glass loosely with packing paper—this prevents the glass from collapsing inward if pressure is applied. Wrap the outside with another sheet of paper. For stemware, the stem is the most vulnerable point. Wrap each glass individually, paying extra attention to wrapping around the stem. Use cell dividers to keep glasses separated in the box.
Bowls can be nested carefully. You can place smaller bowls inside larger ones, but wrap each bowl individually first. Don't nest more than three bowls together, and always place packing paper between each bowl.
Load the box strategically. Heavier items like plates go on the bottom, followed by bowls, then glasses and lighter items on top. Fill every gap with crumpled packing paper—nothing should move when you shake the box gently. The box should be full enough that items don't shift but not so overpacked that you're forcing the box closed. Add a final three-inch layer of crumpled paper on top before sealing.
Label meticulously. Mark boxes with "FRAGILE," "KITCHEN," "GLASSWARE," and which room they should go in at your new home. Also note "THIS SIDE UP" with arrows. Consider numbering kitchen boxes and keeping a list of what's in each box—this helps if you need specific items right away.
Special items like fine china, crystal, or antique glassware deserve extra protection. Double-boxing provides additional security: pack items in a smaller box following all the steps above, then place that box inside a larger box with at least three inches of cushioning material on all sides.
Protecting Artwork, Mirrors, and Picture Frames
Artwork and mirrors present unique challenges because they're both fragile and often irreplaceable. A broken TV can be replaced, but your grandmother's portrait or the painting you bought on your honeymoon cannot.
Assess what you're working with. Framed artwork falls into several categories, each requiring different handling. Glass-front frames are most vulnerable at the corners and where the glass meets the frame. Canvas paintings without glass are susceptible to punctures and tears. Unframed canvases need special attention to avoid damaging the canvas or bending the stretcher bars. Sculptures and three-dimensional art require custom approaches based on their materials and structure. Large mirrors over 24 inches need specialty boxes or custom crating.
For framed pictures with glass, start by protecting the glass. Tape a large "X" across the glass using painter's tape or masking tape—this won't prevent breaking, but it keeps shards together if the glass does break. Some professionals skip this step for valuable artwork because tape can leave residue, but for most framed prints and photos, it's good insurance. Cut cardboard corners and slide them over each corner of the frame—these absorb impact and prevent corner damage. Wrap the entire frame in bubble wrap, securing with tape. For valuable artwork, wrap in acid-free paper first, then bubble wrap.
Mirror boxes are adjustable telescoping boxes that slide together to fit various sizes. Measure your mirror or artwork and get a box slightly larger—you'll need space for padding. Add corner protectors to all four corners. Create a cardboard sandwich: place a piece of cardboard cut to size on each side of the mirror, then wrap the entire package in bubble wrap. Slide it into the mirror box and fill any gaps with foam or packing paper. The mirror should be snug in the box with no movement.
Canvas paintings require special care to avoid pressure on the canvas surface. Never place anything directly against the canvas. Create a cardboard frame that goes around the canvas, protecting it from pressure. Wrap the entire painting in bubble wrap and then in a blanket. If packing in a box, ensure nothing touches the canvas surface—use foam standoffs if necessary.
For extremely valuable artwork, custom crating is worth the investment. Professional art handlers build wooden crates with foam interiors custom-cut to the exact dimensions of your artwork. This is the same method museums use when transporting art between locations. Many moving companies offer custom crating services or can refer you to specialists.
Loading artwork into the truck requires as much care as packing it. Artwork and mirrors should always be loaded upright, never laid flat. Many professional moving trucks have special bars or straps for securing framed items vertically. Pictures should be loaded last and positioned where they won't have other items fall against them during transport.
Strategic Box Loading and Labeling
Even perfectly packed fragile items can be damaged if they're not loaded properly or if movers don't know what they're handling. Your labeling and loading strategy is as important as your packing technique.
The box itself communicates information. Before sealing any box containing fragile items, do a shake test. Gently shake the box—you shouldn't hear anything moving inside. If you do, add more packing material. A properly packed fragile box sounds silent when moved.
Labeling needs to be visible and clear. Don't just mark one side of the box. "FRAGILE" labels should appear on all four sides and the top of every box containing delicate items. Add "THIS SIDE UP" arrows on all sides. Use bright-colored labels or markers—red and orange are most visible. Include the destination room and a brief description of contents: "KITCHEN - WINE GLASSES" or "MASTER BEDROOM - LAMPS."
Weight matters significantly. Even though dish pack boxes can technically hold 75 pounds, keeping them to 40-50 pounds makes them easier to handle safely. Movers who are struggling with excessively heavy boxes are more likely to set them down hard or lose control. Pack heavier items like books and dishes in smaller boxes, and lighter items like linens and lampshades in larger boxes.
Create a fragile items map. Make a list of all boxes containing fragile items, noting box numbers and general contents. This helps ensure these boxes receive priority handling and allows you to quickly check that everything arrived safely. Take photos of particularly valuable items before packing them—this documentation is helpful for insurance purposes if damage does occur.
Communicate with your movers. If you're using professional movers, do a walk-through before loading begins. Point out boxes and items that need extra care. Discuss any items with special requirements. Professional movers handle fragile items daily and appreciate when customers provide clear information about valuable or delicate belongings.
Denver-Specific Loading Considerations
Loading a moving truck in Denver requires some special considerations due to the local terrain and climate.
Account for elevation changes. If you're moving from Denver proper to mountain communities like Evergreen, Conifer, or even Boulder, your truck will navigate significant hills and curves. Fragile items need to be loaded where they're less likely to shift. In a standard moving truck, the most stable position is over the rear axle. Items loaded here experience less vibration and movement than items at the front or very back of the truck.
Temperature protection matters. During summer months, the inside of a closed moving truck can reach 120 degrees or higher. Some items, like certain artwork, wax-based products, or items with adhesive components, can be damaged by extreme heat. If your move spans multiple days or includes overnight storage in the truck during summer, discuss climate-sensitive items with your moving company. Loading these items last means they'll be unloaded first at your destination.
Winter moves require different strategies. Snow and ice are facts of life for Denver winter moves. Fragile items should never be left sitting in snow or on icy ground. Creating a clear pathway from your home to the truck and laying down cardboard or plastic in snow is essential. Ice melt should be used carefully—some types can damage certain floors and should be swept away after creating traction. Professional movers experienced with Denver winters come prepared with proper equipment and techniques for winter moving.
Secure everything properly. Denver's location means many moves involve mountain roads with switchbacks, steep grades, and changing weather conditions. Items that seem secure on flat ground can shift dramatically on steep inclines. Use load bars, straps, and blankets to ensure nothing can move during transport. Fragile items should never be allowed to slide or tip during transport.
When to Choose Professional Packing Services
There comes a point in almost every move where the time, stress, and risk of DIY packing outweigh the cost of professional help. Understanding when you've reached that point can save you money, time, and heartache.
Professional packing services offer several advantages. Speed is the most obvious—what takes you a weekend to pack might take professional packers three or four hours. They have access to commercial quantities of high-quality packing materials at better prices than retail. They know techniques that come from packing thousands of homes. Most importantly, professional packing typically includes insurance coverage for the items they pack.
The insurance aspect deserves special attention. If professional movers pack your items and those items are damaged during the move, their insurance covers the damage. If you pack items yourself and they're damaged, most moving company insurance policies provide limited coverage or none at all. For expensive or irreplaceable items, this insurance alone can justify the cost of professional packing.
Consider professional packing if you have: a large quantity of fragile items, expensive or irreplaceable items like artwork or antiques, limited time before your move, physical limitations that make packing difficult, or previous negative experiences with items breaking during moves.
Partial packing services are an excellent middle ground. You can handle packing clothing, linens, and other non-fragile items yourself while having professionals pack your kitchen, artwork, electronics, and other fragile items. This approach saves money compared to full-service packing while still protecting your most vulnerable belongings.
When evaluating professional packing services in the Denver area, ask specific questions: Do they provide insurance for items they pack? What types of packing materials do they use? How do they handle particularly valuable or unusual items? Can they accommodate your schedule? Do they offer unpacking services as well?
Companies like those offering comprehensive packing services typically provide detailed estimates that break down the cost by room or by specific services. This transparency helps you make informed decisions about which items to pack yourself and which to leave to professionals.
Common Mistakes That Lead to Broken Items
Learning from others' mistakes is less expensive than learning from your own. After years of helping people move throughout the Denver metro area, certain mistakes appear repeatedly.
Underestimating the quantity of packing materials needed is the most common error. People run out of bubble wrap or boxes halfway through and start cutting corners, using newspaper instead of packing paper, or skipping the cushioning layers in boxes. Buy more materials than you think you'll need—most suppliers accept returns of unused materials.
Using inadequate boxes ranks second. Liquor store boxes might be free, but they're designed to hold bottles once, not to protect your belongings during a move. They're often dirty, weakened from previous use, or the wrong size for what you're packing. The money saved on free boxes is lost many times over if items break.
Packing items too tightly causes pressure damage, while packing too loosely allows items to shift and impact each other. The correct packing density comes from experience, which is one reason professional packers achieve better results.
Mixing fragile and non-fragile items in the same box is risky. That "mostly clothes" box with a few picture frames mixed in will likely result in broken frames. Keep fragile items in dedicated boxes where you can control the packing carefully.
Procrastinating until the last minute forces rushed packing, and rushed packing leads to broken items. Start packing fragile items well before moving day. Packing a few boxes each evening over two weeks is less stressful and produces better results than packing everything the day before the truck arrives.
Ignoring weight distribution creates boxes that are too heavy to handle safely or that fail when lifted. Keep the weight in any box under 50 pounds, and ensure weight is distributed evenly rather than all settling to one side.
Failing to label boxes clearly means movers don't know which boxes need extra care. Every box containing anything breakable needs visible fragile labels on multiple sides.
The Night Before Your Move
The evening before moving day is critical for fragile items. Do a final walk-through of your home looking specifically for items you might have forgotten to pack. Common overlooked items include things in bathroom cabinets, items in the garage, decorations on high shelves, and items already in storage areas.
Gather all fragile boxes in one area if possible, or ensure they're clearly separated from boxes of clothes and other non-breakable items. This makes it easy to point out these boxes to your movers in the morning.
Prepare a "last on, first off" box with essentials you'll need immediately at your new home. This might include a few basic dishes, coffee maker, lamp, and other items you'll want access to before unpacking everything. Pack this box carefully since it contains breakable items but label it distinctly so it doesn't get buried in the truck.
Create a final inventory of high-value fragile items. Take photos of valuable items and their packing. This documentation is important if any insurance claims become necessary.
Get a good night's sleep. Tired people make mistakes, and moving day requires focus and attention to detail, especially when dealing with fragile belongings.
Unpacking and Inspecting Fragile Items
Your move isn't over when the truck is unloaded. Proper unpacking and immediate inspection are essential.
Unpack fragile boxes as soon as possible. Don't leave packed boxes sitting for weeks or months. Temperature and humidity changes can affect packed items over time, and many moving insurance policies require that damage be reported within specific timeframes.
Unpack methodically. Clear a space where you can work safely. Open one box at a time and unpack it completely before moving to the next. As you unwrap items, inspect them carefully for damage. Check dishes for chips and cracks, test electronics before recycling boxes, and examine artwork and glass carefully.
Document any damage immediately. If you discover broken or damaged items, photograph them before disposing of anything. Keep the packing materials and boxes. Contact your moving company right away to report damage—most companies have specific procedures and timeframes for damage claims. If you purchased additional insurance, contact that company as well.
Keep packing materials temporarily. Before recycling all your boxes and bubble wrap, ensure electronics work properly and dishes are truly unbroken. It's frustrating to discover damage after you've already taken all the packing materials to recycling.
Reuse quality materials. Good bubble wrap, packing paper, and specialty boxes can be saved for future use or offered to friends who are moving. Some packing materials can be donated to schools for art projects or to shipping stores that reuse packing materials.
Making the Right Choice for Your Denver Move
Protecting fragile items during a move requires time, proper materials, correct techniques, and often professional help. The investment you make in protecting your belongings pays off when everything arrives intact at your new home.
For local Denver moves, you have the advantage of shorter transport distances, but you still face the unique challenges of altitude, weather, and terrain. For long-distance moves departing from Denver, items will spend more time in transit, making proper packing even more critical.
Whether you're moving across Denver, relocating from Denver to Aurora, or planning a long-distance move, taking the time to protect your fragile items properly ensures your belongings arrive safely. Professional packing services provide expertise, efficiency, and insurance coverage that can make your move significantly less stressful.
If you're planning a move and want to discuss your specific fragile items and packing needs, professional movers who understand Denver's unique challenges can provide valuable guidance. From custom crating for valuable artwork to full-service packing for your entire home, the right moving partner makes all the difference in ensuring your treasured belongings survive the journey to your new home.
Moving is challenging enough without the added stress of wondering whether your valuables will arrive intact. With proper preparation, the right materials, and expert techniques—whether you're doing it yourself or working with professionals—you can move even your most delicate belongings with confidence.
Helpful Resources & Services
Our Services
Areas We Serve
Ready to Get Started?
Get a free, no-obligation quote from Denver's most trusted moving professionals. We're here to make your move stress-free!
Available Monday-Saturday, 8:00am - 6:00pm • Contact Us